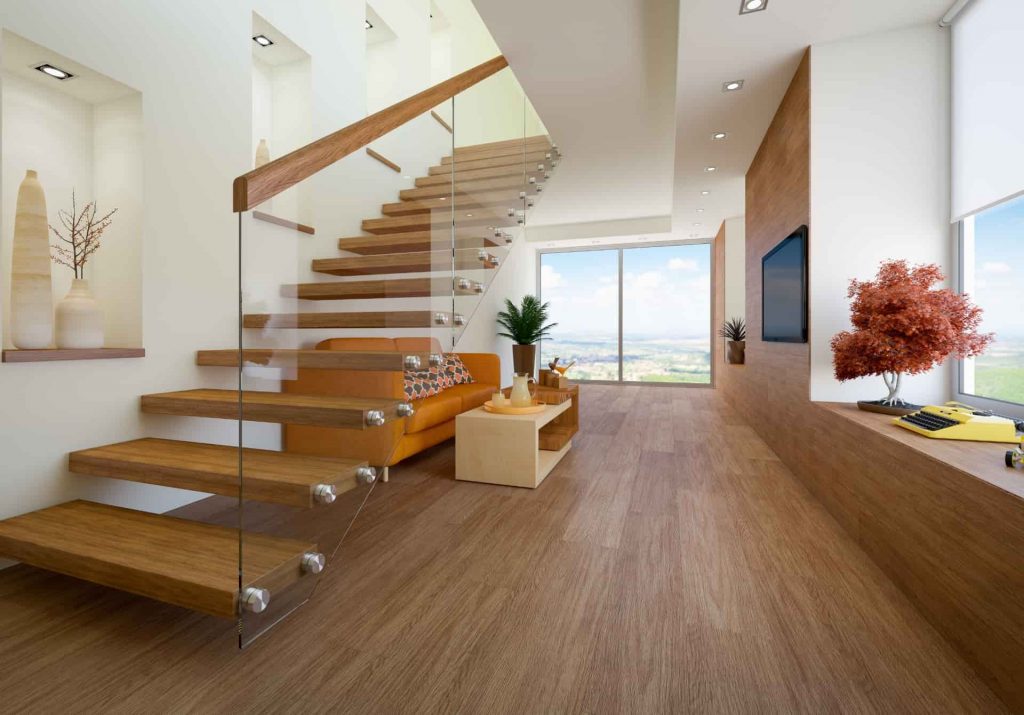
DIY Timber Flooring: Tips for a Professional-Looking Installation
Timber flooring adds warmth, beauty, and value to your home. While hiring professionals for installation is always an option, many homeowners opt for the DIY route to save money and take pride in their handiwork. However, achieving a professional-looking timber flooring installation requires careful planning and execution. Here are some essential tips to help you achieve that polished and elegant finish.

- Choose the Right Timber: The first step in any successful DIY timber flooring project is selecting the right timber species. Consider the look you want to achieve, the durability needed for your space, and your budget. Oak, maple, and cherry are popular choices for their durability and aesthetics. Make sure the timber is sourced from sustainable and reputable suppliers.
- Acclimatize the Timber: Before installation, it’s crucial to acclimatize your timber to the room’s environment. Leave the timber planks in the room for at least a week to allow them to adjust to the humidity and temperature. This step helps prevent warping and buckling after installation.
- Prepare the Subfloor: Ensure your subfloor is clean, level, and dry. Any imperfections in the subfloor can lead to problems with the timber floor’s stability and appearance. Use a moisture meter to check for any excess moisture, as this can damage the timber over time.
- Invest in Quality Tools: To achieve professional results, invest in high-quality tools and equipment. You’ll need a circular saw, miter saw, nail gun, pneumatic flooring stapler, and a quality level. Having the right tools will make the installation process smoother and more precise.
- Plan Your Layout: Plan the layout of your timber planks before you start installing them. Avoid having small, narrow pieces at the edges of the room, as this can make your installation look less professional. Use a chalk line to create reference lines and ensure straight, even rows.
- Use Underlayment: Installing an underlayment can help reduce noise, improve insulation, and create a smoother surface for your timber floor. Choose an underlayment suitable for your specific flooring type and follow the manufacturer’s instructions for installation.
- Stagger Seams: When laying out your timber planks, stagger the seams to create a more natural and visually appealing look. Avoid creating a repeating pattern, as this can make your DIY installation appear amateurish.
- Secure Properly: Whether you choose to nail or staple the timber planks, ensure they are securely fastened to the subfloor. Follow the manufacturer’s recommendations for fastener placement and spacing to prevent any movement or squeaking.
- Maintain Expansion Gaps: Timber naturally expands and contracts with changes in humidity. To accommodate this movement, leave the recommended expansion gaps around the perimeter of the room and at doorways. Cover these gaps with baseboards or transition strips for a finished look.
- Finish with Care: After installation, finish your timber floor with the appropriate sealant or finish. This not only protects the wood but also enhances its appearance. Follow the manufacturer’s guidelines for application and drying times.
- Regular Maintenance: To maintain the professional appearance of your timber floor, practice regular maintenance. Sweep or vacuum regularly to prevent dirt and grit from scratching the surface, and clean up spills promptly.
